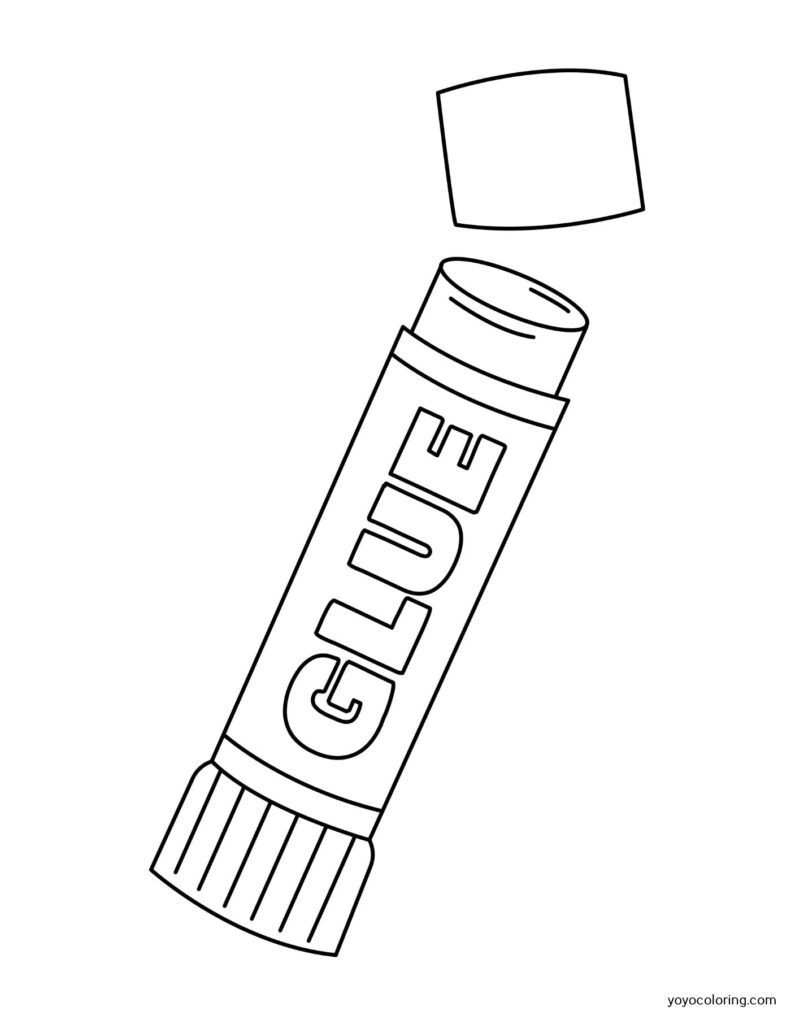
Sometimes, a unique take on a traditional creative activity sparks a whole new level of inspiration. Lately, I’ve stumbled upon an exciting way to breathe new life into my coloring process: glue stick coloring pages. This technique combines the texture of glued surfaces with the brilliant hues of coloring materials, resulting in a one-of-a-kind art piece.
I first discovered this approach when I was looking for innovative ideas to add to my arts and crafts routine. At first, I wasn’t sure how it’d turn out, but I was amazed at the outcome! The glue stick adds a dynamic, 3D effect to the colored areas, making the final artwork all the more fascinating.
So, if you’re as curious as I was and want to explore the world of glue stick coloring pages, you’re in the right place. Stick around as we dive into the nitty-gritty of this technique to unleash your inner artist. Happy coloring!
Glue Stick Coloring Techniques
You might be wondering how to get started with glue stick coloring pages, and you’ve come to the right place. I’m excited to share my favorite techniques and tips to make your glue stick coloring pages stand out from the rest.
Prepping the canvas might not sound like a lot of fun, but it’s an important first step to ensure your glue stick adheres properly. Make sure your coloring page is on a flat surface, and consider placing a sheet of wax paper or plastic underneath it. That way, if things get messy, you can easily clean up.
For a smooth coloring experience, choose the right glue stick. There are various types of glue sticks available, each with different textures and colors. It’s essential to consider factors such as:
- Size: Larger glue sticks may prove difficult to maneuver, while smaller ones might not last as long.
- Color: Select a glue stick that complements your coloring page for the best results.
Once you’ve chosen the perfect glue stick, it’s time for the fun part—the coloring! Here are some techniques to take your glue stick coloring pages to the next level:
- Layering: Applying multiple layers can add depth and dimension to your masterpiece. Start with a light layer as your base, allow it to dry, and then add another layer for a more intense effect.
- Blending: To create a subtle transition between colors, simply apply a lighter shade directly next to the darker color. Then, use your finger or a blending tool to merge the colors.
- Stippling: Create texture by dabbing or tapping the glue stick onto the paper instead of dragging it along the surface. This technique works particularly well with opaque glue sticks.
- Using other mediums: To make your artwork truly unique, consider combining your glue sticks with other coloring mediums like colored pencils, markers, or even watercolors.
One crucial aspect of glue stick coloring is cleaning up after your creative session. Make sure to cap your glue sticks to prevent them from drying out and store them in a cool, dry place.
I hope these techniques inspire you to create awesome glue stick coloring pages. Remember, the most important thing is to have fun and let your imagination run wild. Happy coloring!
Conclusion
I’ve had a blast exploring glue stick coloring pages with you. These creative coloring outlets are not only fun, but they also offer some great perks.
- They inspire imagination and creativity
- They’re an excellent stress-reliever
- They help improve fine motor skills
Let’s not forget the eco-friendly aspect. By using glue sticks for coloring, we’re cutting down on waste, since there’s no need for separate containers or tubes. Plus, I’ve found that the glue stick application helps make the coloring experience more precise and smoother.
I can’t wait to see all the fabulous masterpieces you’ll create with your glue stick coloring pages. With so many design options out there, I’m sure you’ll find something that really resonates with you. And the best part? You might even discover a new way to unwind and express yourself. Happy coloring!